
Gluten-free grape focaccia

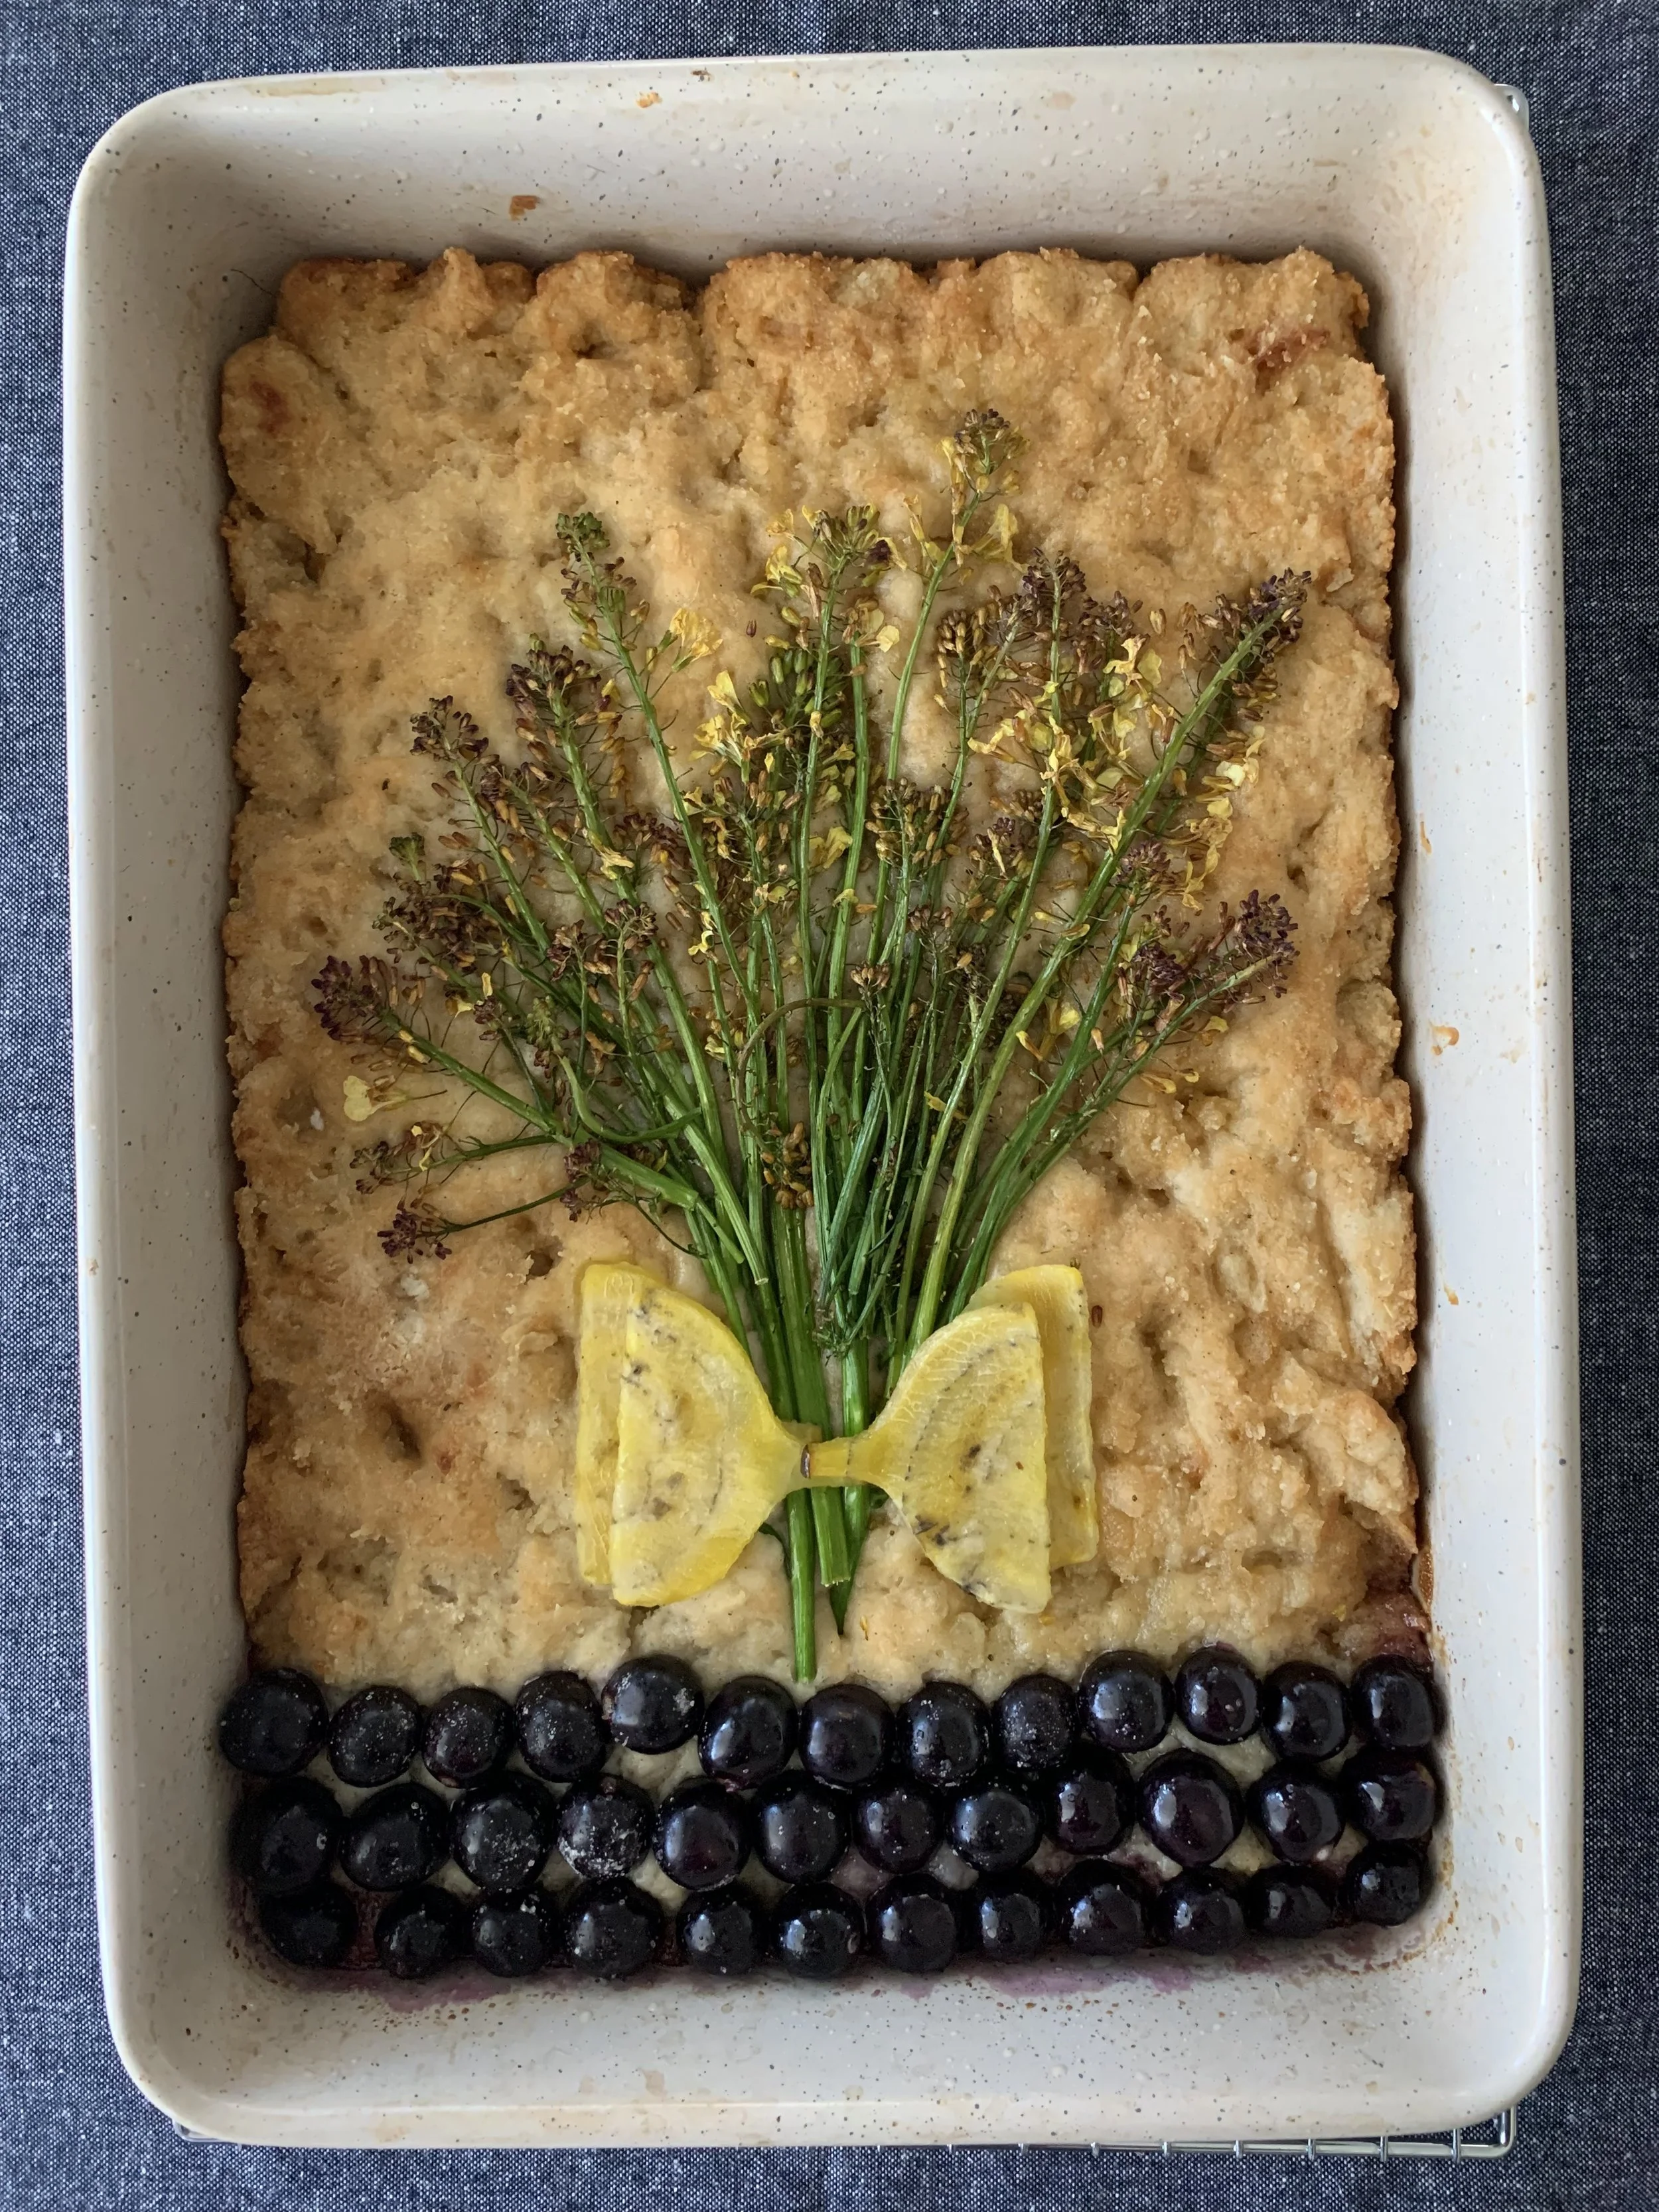
Focaccia made with Bob’s Red Mills xanthan-free, gluten-free flour- You can see it is fluffy and risen.
Look at this focaccia, WOW! People are intimidated by a gluten-free diet or lifestyle, but you are limited only by your imagination and willingness to try new recipes. There are a gazillion recipes online- everything was tried by someone else at some point and recreated gluten-free.
Yes, you might need to use unfamiliar ingredients, and yes, you might need to try and fail a couple of times, but when you find that perfect recipe, you stick with it forever. That is what happened to me with this focaccia recipe.
Focaccia made with other gf flour, with xanthan- it turned out gooey, oily, and not pleasant to eat. I DO NOT RECOMMEND.
When making this focaccia, you have to consider only one thing- using the right type of gluten-free flour. I tried this recipe with multiple gluten-free flour mixes, but the only one that was successful was this brand shown in the picture below, from Bob's Red Mills gluten-free, xanthan-free baking flour with the red bag.
As demonstrated in the two pictures posted above, the first focaccia turned out fluffy, aerated, soft, and delicious. The focaccia in the second picture was made with another gluten-free flour, and while it is still beautiful, it was impossible to eat because it was gooey and oily.
I always use the same brand of flour for making this focaccia, the one shown in the picture below, I had no success with other types of gluten-free flour. The best thing for you is to try with whatever flour mix you have on hand and see what happens.
In the future, I am planning on making my own mix of flours to recreate this bread, as many international followers/clients might not have access to this brand. This Bob's Red Mills gluten-free flour mix has chickpea flour, fava bean, potato starch, tapioca flour, and sorghum flour, so I am confident it is doable.

This is the flour brand I use.
RECIPE
Ingredients
3.5 cups gluten-free flour
1 packet of rapid yeast, or instant yeast
1 Tbsp gluten-free baking powder
2 cups warm water, not hot, or the yeast will die
1 Tbsp honey, date syrup, or maple syrup
1 tsp garlic powder
1 Tbsp dry thyme
1 tsp apple cider vinegar
1 tsp pink Himalayan salt
1/2 cup olive oil plus more for topping the bread
your choice of veggies and herbs for decorating
Instructions
Warm-up your oven a little to have a place to proof your dough, or place it outside if it's hot weather- around 90-100F will do;
In a cup, add the warm water, the yeast, and the sweetener, mix well, let it sit for 5 minutes;
In a large bowl combine the gluten-free all-purpose flour, gluten-free baking powder, garlic powder, thyme, and salt. Stir to combine the ingredients;
Pour the warm water and yeast mixture into the gluten-free flour, and combine well until it forms a dough- it is more like a pancake mix than a bread dough, very wet;
Add the olive oil and apple cider vinegar into the dough and mix well;
Place the dough in a greased ovenproof bowl, put it in the warm oven, and give it 30 minutes to rise;
Remove the dough from the oven and preheat the oven to 400°F;
Grease the baking tray with some olive oil( I use a 10/14 inch baking tray, I find it to be a perfect size), add the focaccia dough into the tray;
Traditional focaccia would require you to push the dough with your fingers to create dimples, but for this gluten-free recipe, that won't work as we are missing the gluten elasticity, and because it is very wet;
Decorate your focaccia however you want, with your desired veggies and fruits, or keep it simple. If you are artsy, create your own design, if not, search "focaccia art" and get inspired by the hundreds of creations other people made;
Your design might sink because the dough is wet, so use light ingredients;
Drizzle some olive oil over your design or simple dough;
Bake on the top rack of the oven for 25 minutes at 400F;
Let it cool for 30 minutes before eating.
Enjoy!
In my experience, this bread is amazing the day you make it, and maybe for 24h, but it won't stay good for long, not that it ever lasts. So plan accordingly, make half of the quantity if needed, or get ready to share it with your loved ones.

As usual, these are my thoughts and ideas, not medical advice. You are encouraged to create your own recipes or search for some suited to your needs. I am just sharing my recipes, hoping that I can inspire some of you to make healthier food choices.
Please remember that we all have different nutritional needs and that food affects us differently. If you are not sure which foods are best for you, reach out for a free phone consultation.
In good health,
Ioana